Setting up a Ledger hardware wallet is one of the most important steps you can take to secure your cryptocurrency assets. With digital threats increasing every year, achieving full protection for your Bitcoin, Ethereum, and other crypto holdings requires a trusted hardware wallet. Ledger is recognized worldwide for its advanced security features, and the official setup page at Ledger.com/start is designed to help every new user configure their Ledger Nano S Plus, Ledger Nano X, or Ledger Stax safely and efficiently.
This detailed 2000-word guide explains everything you need to know—from unboxing your Ledger device to generating your recovery phrase, installing Ledger Live, updating firmware, adding crypto accounts, and securing your wallet for long-term protection. Whether you are a beginner or a seasoned crypto investor, you’ll find step-by-step instructions, security tips, and professional insights to ensure your device is set up correctly.
Ledger.com/start is the official onboarding platform for all Ledger hardware wallets. It provides verified instructions, the official Ledger Live download, and a secure environment for new users to begin device setup. This page exists to reduce the risks associated with phishing websites and fake crypto applications. Thousands of fraudulent crypto sites appear each year, and new investors are often targeted. By directing users to the official setup portal, Ledger ensures you follow the correct procedure with verified software and secure firmware.
When visiting Ledger.com/start, users are guided step-by-step through the setup process. The page also detects your device model automatically and offers specific instructions tailored to that model. This ensures a smooth onboarding experience, regardless of whether you're using the Ledger Nano S Plus, Ledger Nano X, or the Ledger Stax touchscreen device.
With crypto adoption growing rapidly, many users store significant digital wealth online. Unfortunately, online wallets and exchanges remain extremely vulnerable to attacks. Online wallets can be compromised by malware, SIM-swapping attacks, phishing emails, exchange hacks, weak passwords, and software vulnerabilities. A single mistake can lead to irreversible crypto loss.
A Ledger hardware wallet solves this problem by keeping your private keys inside a secure element chip. These keys never leave the device and cannot be accessed by hackers, even if your computer or smartphone is infected with malware. Every transaction must be physically confirmed on the Ledger device, ensuring you maintain full control at all times.
In a world where digital threats are becoming more sophisticated, using a hardware wallet is not just a recommendation—it is essential. Ledger protects millions of users globally and is trusted by beginners, professionals, and institutions.
Inside your Ledger package, you will typically find:
Check the packaging carefully. Ledger devices are sealed and should show no signs of tampering or modification. If anything looks suspicious, contact Ledger support immediately before proceeding with setup.
Open your browser and go to https://ledger.com/start. Ensure the URL is correct, as fake setup sites are common. Bookmark the official website so you never risk visiting a fraudulent domain in the future.
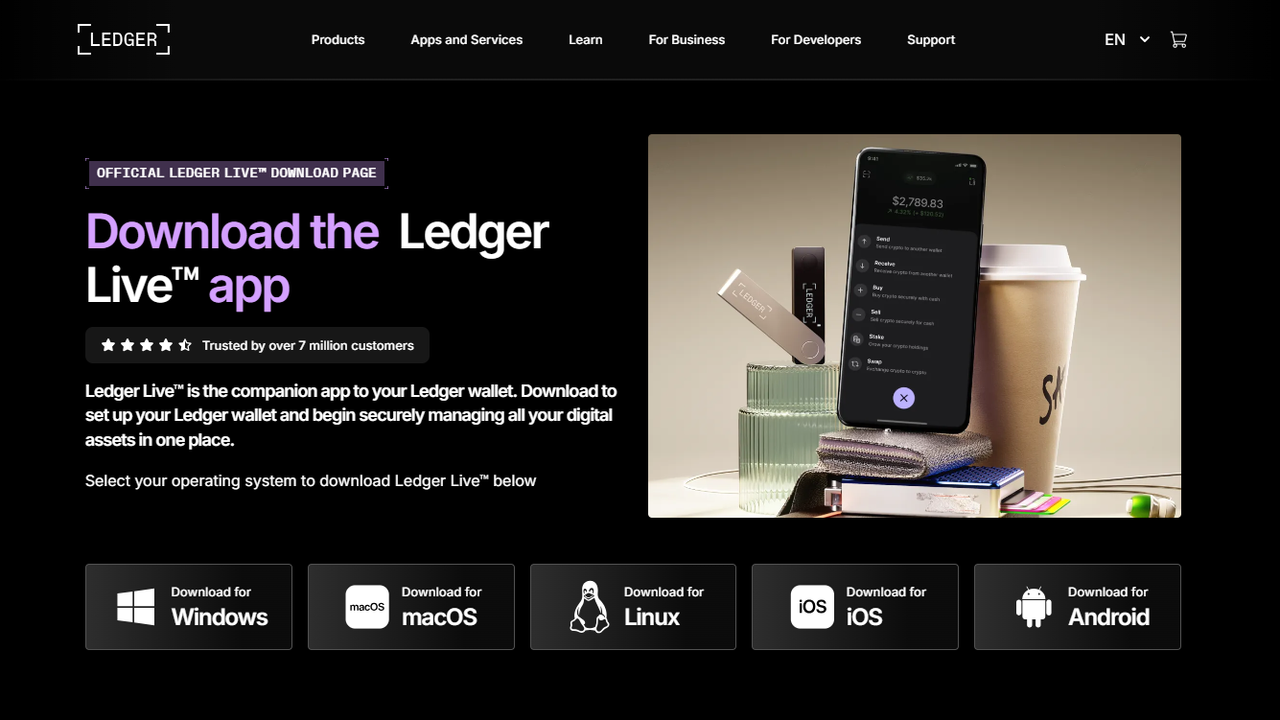
Ledger Live is the all-in-one application used to manage crypto assets on Ledger devices. It also allows you to update firmware, install blockchain apps, manage accounts, verify transactions, and view your portfolio. Ledger Live is available for Windows, macOS, Linux, Android, and iOS.
Download Ledger Live only from the official Ledger website. Never use third-party sources or unofficial app stores—these may contain spyware or malicious code intended to steal your recovery phrase.
Use the provided USB cable to connect your Ledger device to your computer. Once connected, the device will power on and display the welcome screen. Use the physical buttons on your Ledger device to navigate the menus and confirm selections.
When starting your Ledger for the first time, select “Set up as new device.” This will generate a new private key inside the secure chip. Never use a Ledger device that comes with a pre-set recovery phrase—this is a common scam. Your Ledger should always generate a brand-new recovery phrase on the device screen.
Next, choose a PIN for your Ledger device. This PIN protects your wallet from unauthorized physical access. The PIN must be entered each time you connect the device. Choose something that is not easily guessed but that you can remember. Avoid simple combinations like 0000 or 1234.
Your Ledger device will display a unique 24-word recovery phrase. This phrase is the master key to your cryptocurrency. If your Ledger is lost, damaged, or reset, you can recover your entire wallet using this phrase. If anyone else gains access to your 24 words, they can steal all your funds.
Ledger warns users repeatedly: Never store your recovery phrase digitally! Do not:
Write it down carefully on the provided recovery sheets, or upgrade to a fireproof metal backup. Store it somewhere secure where only you can access it.
To ensure the recovery phrase is correct, your Ledger will ask you to verify the words. This step prevents errors and ensures you have the correct phrase written down. Only after you confirm each word in the correct sequence will your Ledger complete the setup.
Each cryptocurrency requires a corresponding app installed on your Ledger. For example, Bitcoin, Ethereum, Solana, XRP, and many others all require their own blockchain apps. Through Ledger Live:
Once installed, you can add crypto accounts to your Ledger Live dashboard.
Your Ledger device does not store the coins themselves; instead, it stores the keys that allow you to access them. The blockchain apps installed earlier act as gateways for managing each specific cryptocurrency.
To add accounts:
Now you can receive crypto using your Ledger wallet addresses.
When receiving crypto, Ledger Live will display a receiving address. You must always verify this address on your Ledger screen to ensure it matches. This protects you from malware that could alter addresses on your computer. Always trust your Ledger screen more than your computer.
To test your setup, send a small amount of cryptocurrency to your new Ledger wallet. The transaction must be confirmed physically on the device, giving you maximum protection. This final step helps you understand how the Ledger works in real-world scenarios.
No legitimate company, including Ledger, will ever ask for your 24-word phrase. If anyone requests it, that person is trying to steal your crypto. Treat your recovery phrase like the key to a vault.
Phishing attacks are common in the crypto world. Always verify that the URL of Ledger Live matches the official site. Bookmarking Ledger.com/start ensures you always return to the correct location.
Ledger Live allows you to set a password lock to prevent unauthorized users from viewing your portfolio. This adds an additional layer of protection.
Ledger periodically releases firmware updates to improve device performance and enhance security. Updates often introduce support for new cryptocurrencies or fix minor issues. Always keep your device up to date.
Avoid using public Wi-Fi networks when interacting with cryptocurrencies. Use a trusted home network or a secure mobile hotspot.
Ledger Live is more than just a setup tool. It is a powerful crypto management platform. Some key features include:
With Ledger Live, you can control your crypto ecosystem from one secure dashboard.
Try using a different USB port, restart Ledger Live, or use another cable. Ensure the device is unlocked.
Double-check spelling and order. Only words from the official BIP-39 list are valid.
Restart your computer, update Ledger Live, and try again with a stable internet connection.
Setting up your Ledger device through Ledger.com/start is the safest and most reliable way to protect your digital assets. With proper configuration, a secure recovery phrase backup, and ongoing security practices, your Ledger wallet becomes an unstoppable fortress in the digital world. Whether you’re storing Bitcoin, Ethereum, stablecoins, or NFTs, your Ledger hardware wallet offers unmatched protection compared to software wallets or exchanges.
By following this complete guide and leveraging the power of Ledger Live, you can confidently manage your crypto portfolio with full ownership and maximum security. Your financial future deserves the best protection, and Ledger provides exactly that.